Ann keeps dreaming about making a banner and every year or so, she does.
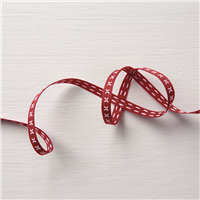
Last night, she started on one! Our house is Tip Top Taupe (retired last year) with lots of red accents. More of a Cherry Cobbler than a Real Red.
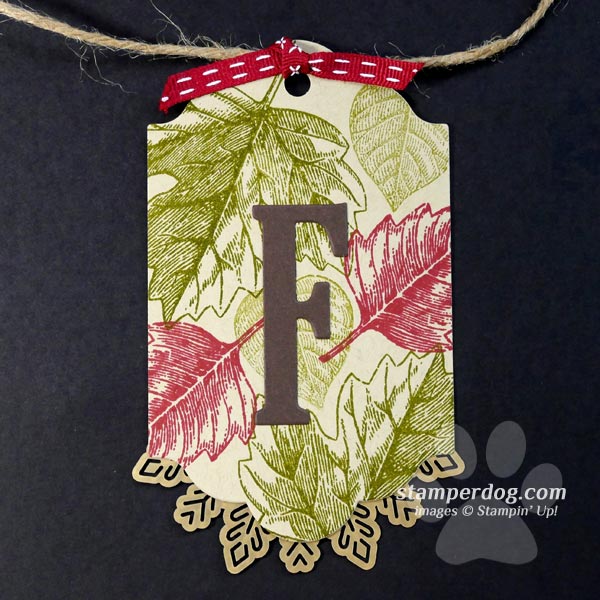
Here’s the initial idea.
We recently put up a nice mirror in the hallway to make the hallway seem more spacious. I told Ann that’s where she should hang the banner.
What letter do you think she’ll do next?
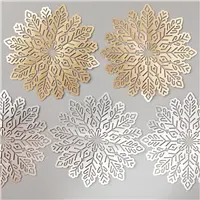
Do you like the gold on there? That was an afterthought, but I think it’ll look good with the new fancy mirror.
I’ll be sure that she shows you what the finished project looks like. It’ll be just the thing we need – a little DIY Home Decor.
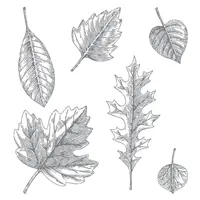
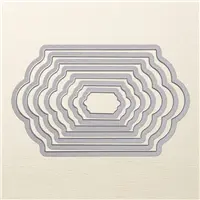
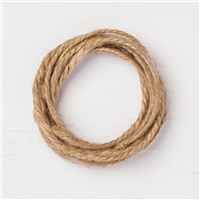
And here’s what we used to get started on this banner so far. I think that we might add some die cut leaves as well.
Banner Making Tips
- To get the lighter green, you can use Pear Pizzazz, but we stamped off Old Olive onto a scrap of paper and then stamped the banner for a lighter hue.
- We used an old 1/4″ circle punch that Stampin’ Up! used to sell. You could use a office hand punch in a pinch.
- We used Tear & Tape like a piece of Scotch Tape because we don’t keep regular tape around the stamp table. We just didn’t take the covering off.
- Be sure to use our shopping code UUQQ9TX3 when you’re shopping for supplies so that we can toss in a little gift for you with the reusable handmade card we send all our online shoppers.
Banner Making Supplies


- shop safely online – (You’ll love our reusable handmade cards we send you!)
- by phone – 530-674-5090
- by email or even in person!
- Earn free stamps with our Stampin’ Bucks!
- Shop our Rubber Stamp Garage Sale here.

What a great DIY banner idea!


Stamper, my guess is the next letter will be A. Can hardly wait to see the finished banner.
Minerva
What a clever idea! I love the colors and the gold snowflake is genius!