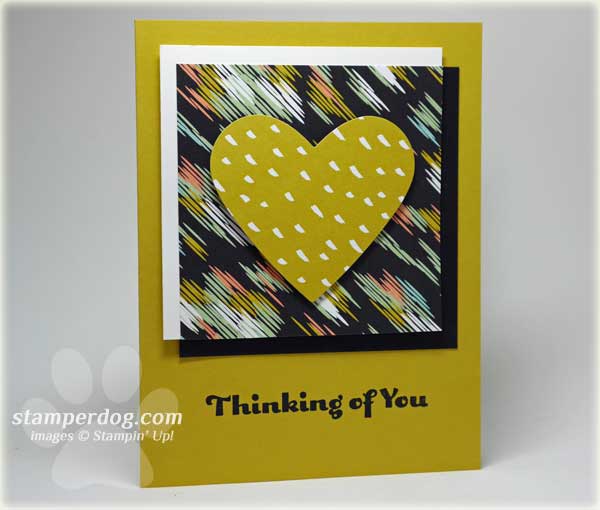
Do you think it’s an optical illusion when we make the straight stripes on a Designer Series Paper go at an angle? Did you wonder how we did it?
And what do you think about the mats on this focal point? It’s enough to make you make a masculine card with a heart on it!
And yes, I’m barking to you how to do it all today so you can say that a dog told you! And if you like it, be sure you’re on our mailing list because we’ve got a special project we’re offering to our readers using this same paper that you can get free with a $50 order this week. (Ends 3/31/14)
Card Making Tips
- The Sweet Sorbet DSP is 3-1/4″ square & free w/$50 purchase until 3/31
- The Whisper White and Basic Black are 3-7/16″ square.
- The DSP is attached to the Whisper White with SNAIL & lined up with the bottom & right edges.
- The Whisper White is attached to the Basic Black with Stampin’ Dimensional
How’d We Do That?
Here’s how we turned the pattern of the Designer Series Paper. Here’s enough to get you started. Just click on any picture to see it closer.
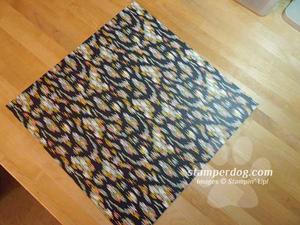
- Lay the Designer Series Paper (DSP) on the table with the corners on point.

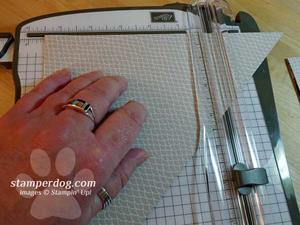
- Fold opposite corners together. DON’T use a bone folder. On a busy pattern, you won’t see the fold if you don’t burnish (rub) the fold. (There’s a fold in the featured card, but I’ll bet you didn’t see it!)

- With the folded side against the top bar, make starter cut on DSP. You can cut from the point…
 Or you can cut towards the short end.
- After that, you turn the DSP and cut it any way you want. Try it!
If you liked this idea, you can see our original card using this “turn the pattern on your DSP” idea here.
Here is a list of what we used. Just click on any picture to add it to your stash.
Order online & get your own reusable handmade thank you card from us.
- by phone – 530-674-5090
- by fax (available – just call)
- by email or even in person!
Be sure to get on our mailing list for new ideas in your inbox each month! I’m not waiting until tomorrow. It’s the last Weekly Deal of Sale-A-Bration!


Recent Comments