
You’ve seen them. They’re called memes (barked meems) on Facebook and other social media. If you follow me on Facebook or if you follow me on Instagram, you’ve seen some of mine like this:

Or sorta like that.
They’re pictures with words and they’re hot with humans!
And now, Stampin’ Up! has made it so that you can make your own using two things that are featured on page 40-41 of the Occasions Seasonal Catalog
- Adventure Awaits stamp set
- Adventure Bound Designer Series Paper Stack
- or SAVE 15% when you Bundle them together here
So here’s how the experiment went.
First, we purchased the stamp set and the Designer Paper Stack during the pre-order period where Stampin’ Up! allows demonstrators to purchase a month before the public can get their hands on it.
Then I waited patiently until Ann played with HER first choices from the Occasions Catalog Haul. When we got around to me, well…..
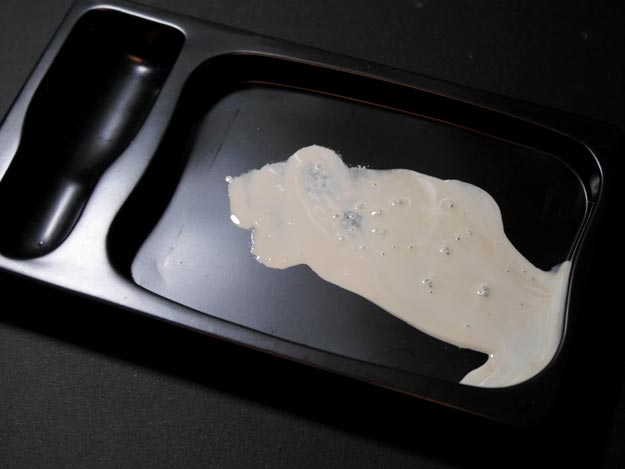
We thought that a White StazOn Pad would give the most opaque look when we stamped. The White StazOn Pad works a bit differently from all other pads. It comes with a refill and you should refill the pad before each use.
We’ve had ours a long time and hadn’t used it in a long time, so this is what it looked like.

Honestly, this is what it normally looks like when we open the special case it comes in and take off the lid. The only problem was that we hadn’t used it in probably a couple years. So when Ann tried to take off the inner lid, this is what happened.

It stuck!
We probably could’ve rinsed it or tried some other experiment. We went with the other experiment choice and chose to put pour some of the refill in the holder that the pad sits in inside the case.
We got out a Sponge Dauber and sponged the refill onto the stamp. Let me just tell you that it didn’t work. It stamped thick in some places and not enough in others.
It probably would’ve been smarter to put it on some foam or felt and make our own little pad.
We wiped it off because it didn’t dry as fast as what we thought it would. Almost all of it came off. There was just a little residue.
Then we used the Embossing Buddy to take off any remaining moisture, stamped with a White Craft Pad, applied White Embossing Powder and revved up the Heat Tool.
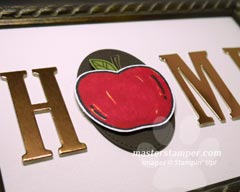
We’re not done yet, but this is how it worked – so far.

We used a frame we had on hand – without looking at the size of the paper or the frame. DUH! We matted it with something that we thought would blend, but we used Always Artichoke, when we really should’ve used the Mossy Meadow that we know is in the paper.
Picture Making Tips
- Make sure you have the right supplies before you start your project.
- MEASURE!
- The paper is 4-1/2″ x 6-1/2″ – perfect for a 4″ x 6″ frame.
- NOT so perfect for a 5″ x 7″ frame.
- You COULD stamp with White StaZon or stamp & emboss onto the glass.
- It’s only paper and easy to change out.
So what’s your latest epic fail? I think I still like this one so I think I’ll put it in the hallway where people whiz by and don’t look really closely. They’ll still get the effect of it all, don’t you think?
Don’t beat yourself up. We didn’t.
 You can be an epic success when you shop with us this month! As a thank you to our January shoppers, we’ll be sending out a little kit to make a Berry Basket complete with a punched bow made with the new Bow Builder Punch.
Just shop here and use the current hostess code. WXCRW9QQ (check the side bar to see if it’s changed if you’re reading this later)

- shop safely online – (You’ll love our reusable handmade cards we send you!)
- by phone – 530-674-5090
- by email or even in person!
- Earn free stamps with our Stampin’ Bucks!

You’re going to love stamping with us!


Recent Comments