Many of you know that I sent Ann on an incentive trip with Stampin’ Up! to St. George, Utah. We love this because I get to take a break at the doggy spa and she gets to party with other top demonstrators from the United States and Canada.
On one of the days, she gets to go out to Kanab, Utah where the stamps are made. And this year, she got to take pictures inside! She’s been before and tried all the stations except the ovens because she said they’re just too hot. But it was just as much fun watching her friends be trainees for a few minutes at each station.
And here is how to make rubber stamps!
1. Hire a professional greeter.

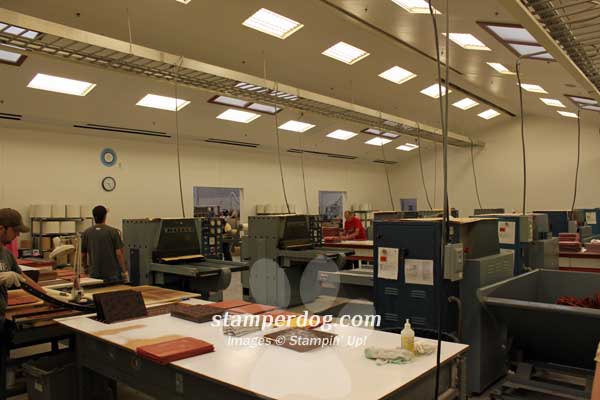
2. Have a well ventilated area.

3. Have lots – I mean LOTS of rubber!

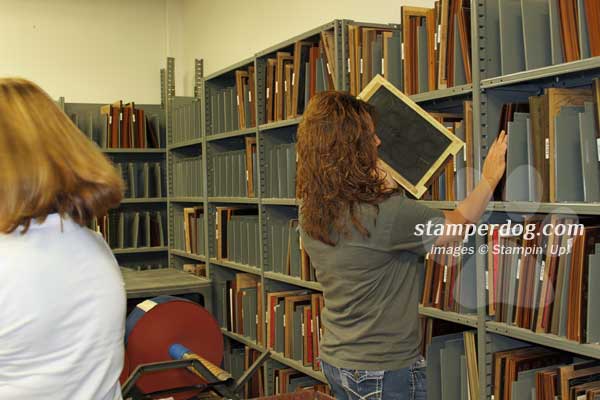
4. Have lots of design plates and make sure you file them right so you can find them!
5. Make sure you have enough ovens to make enough stamps for everyone.
6. Don’t forget your gloves! Those babies are HOT!
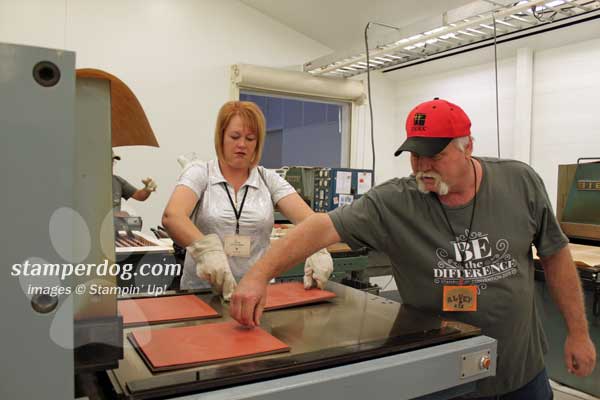
7. Trim it straight!

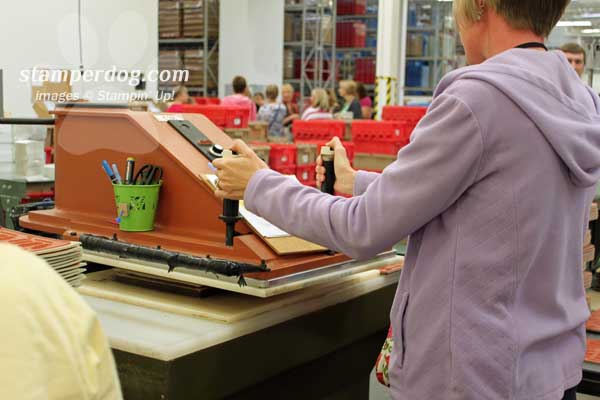
8. Add a good foam layer. (Images smudged as the sets might be too new.)

9. Two thumbs down give a two thumbs up trim around all the stamps.
10. Make sure the label’s in there right when you load the boxes.
11. Cut up all the extra rubber and donate it to a local park so the kids play safe.
 Order online & get your own reusable handmade thank you card from us.
– by phone – 530-674-5090
– – – by email or even in person!

It’s a great time to be the blog dog of a Stampin’ Up! Demonstrator.


Recent Comments